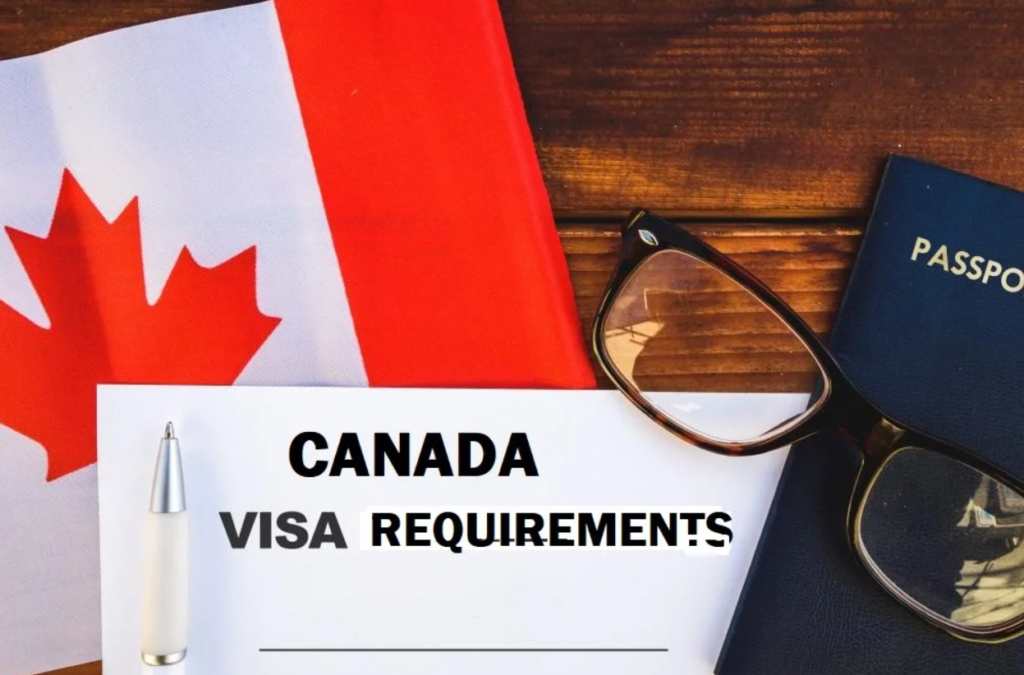
A Complete Guide
Canada has become one of the most popular study destinations for international students, including those from Pakistan. With its high-quality education, diverse culture, and excellent post-graduation work opportunities, it’s no wonder that many Pakistani students aspire to study in Canada. However, the process of obtaining a Canadian study visa can be complex and requires careful attention to detail. This guide is designed to provide you with a step-by-step process for successfully applying for a Canadian study visa.
1. Introduction
Canada offers world-class education and is home to some of the top-ranked universities in the world. For Pakistani students, studying in Canada opens the doors to high-quality education, opportunities for internships, part-time work during studies, and pathways for permanent residency after graduation. This article will provide a complete guide for Pakistani students on how to apply for a Canadian study visa, ensuring that you are well-prepared for the process.
2. Step 1: Choose a Designated Learning Institution (DLI)
Before applying for a study visa, the first step is to get accepted into a Designated Learning Institution (DLI). A DLI is a school, college, or university that is approved by the Canadian government to host international students. To apply, you must first select a program and institution that aligns with your academic interests. You can explore a range of Canadian universities and colleges to find one that suits your preferences in terms of course offerings, location, and tuition fees.
Popular universities among Pakistani students include University of Toronto, University of British Columbia, McGill University, and University of Waterloo. Check the university’s admission requirements and make sure you meet the academic qualifications and English language proficiency standards before applying.
3. Step 2: Get Accepted into a Program
Once you’ve selected your preferred DLI, the next step is to apply for admission. You’ll need to submit an application along with various documents, such as academic transcripts, recommendation letters, a Statement of Purpose (SOP), and English language test scores like IELTS or TOEFL. After submitting your application, you’ll receive an Offer of Admission or Letter of Acceptance (LOA) if you meet the requirements.
The LOA is one of the most important documents needed for your study visa application, so ensure that you keep it safe and submit it as part of your visa application.
4. Step 3: Prepare Your Documents
After receiving your Letter of Acceptance, the next step is to gather and organize the required documents for your study visa application. The essential documents include:
- Valid Passport: Make sure your passport is valid for at least six months beyond your intended stay in Canada.
- Letter of Acceptance (LOA): From the Designated Learning Institution (DLI).
- Proof of Financial Support: Bank statements, sponsorship letters, or any other documents that show you have sufficient funds to cover your tuition and living expenses in Canada.
- English Language Test Results: IELTS, TOEFL, or any other recognized language proficiency test.
- Medical Examination Report: A medical checkup to ensure you meet Canada’s health requirements.
- Police Clearance Certificate: This is required to prove you have no criminal record.
Once you have all the documents ready, ensure they are clear, complete, and properly formatted. Organize them in a way that makes them easy to upload and review.
5. Step 4: Create an Online Account
The next step is to create an online account on the Immigration, Refugees and Citizenship Canada (IRCC) portal. This will be the platform where you’ll submit your study visa application. Here’s how to get started:
- Visit the official IRCC website and create an account by registering for a GCKey or by using a Sign-In Partner (like your online banking details).
- Once logged in, complete the application forms, upload the required documents, and make sure everything is accurate before proceeding.
- Pay the study visa application fee using a valid credit or debit card. The fee is non-refundable, so ensure that all your information is correct before submitting.

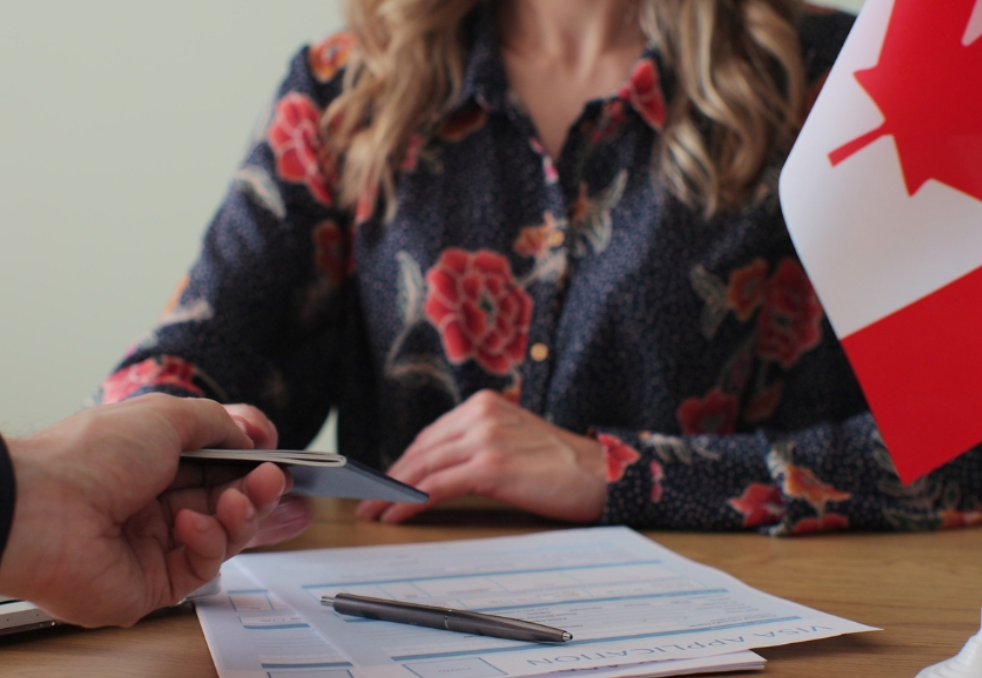
6. Step 5: Submit Your Application
After filling out the application form and uploading all required documents, the next step is to submit your application. Double-check everything before hitting submit, as any errors or omissions can delay the processing of your visa. Once submitted, you’ll receive an acknowledgment from IRCC, confirming that your application is in progress.
Expect to wait for several weeks (typically 4-6 weeks) for the visa processing. During this time, you can check your application status through your IRCC account. The status will indicate whether your application is being processed, or if further documents are needed.
7. Step 6: Attend Biometrics Appointment
As part of the visa application process, you may need to provide biometrics (fingerprints and photographs). Biometrics are used to verify your identity and to assist in security checks. You will receive instructions from IRCC about how to book your biometrics appointment.
You can schedule your appointment at one of the Visa Application Centres (VACs) in Pakistan, such as those in Islamabad, Karachi, Lahore, and Rawalpindi. Make sure to bring your biometrics instruction letter, passport, and any other required documents to the appointment.
8. Step 7: Wait for Visa Decision
Once you’ve submitted your application and completed the biometrics process, the next step is to wait for the decision. The standard processing time for Canadian study visas is approximately 4-6 weeks, but this can vary. During this period, you can track the progress of your application through the IRCC portal.
If your visa is approved, you will receive instructions on submitting your passport for the visa stamp. If your application is denied, you will receive a refusal letter with reasons for the decision.
9. Step 8: Prepare for Departure
Once your visa is approved, it’s time to prepare for your journey to Canada:
- Book your flight to Canada and make sure to arrive well in advance of your program’s start date.
- Arrange accommodation near your educational institution.
- Pack essentials like clothing, toiletries, important documents, and electronics.
- Make sure you carry proof of your study permit, acceptance letter, and financial documents when you travel.
Upon arrival in Canada, you will need to present your study permit at Canadian immigration. This permit is your official permission to study in Canada.
10. Tips for a Successful Visa Application
To ensure a successful visa application:
- Avoid common mistakes, such as incomplete forms, missing documents, or incorrect information.
- Strengthen your proof of financial support by submitting clear bank statements, sponsorship letters, and investment records.
- Write a strong Statement of Purpose (SOP) by explaining your academic and career goals, why you chose Canada, and your intentions to return to Pakistan after your studies.
11. Conclusion
Applying for a Canadian study visa is straightforward if you prepare properly. By following the steps outlined in this guide, you can ensure that you meet all the necessary requirements and maximize your chances of approval. Be sure to stay organized, provide accurate information, and double-check all your documents before submission.
For more information, visit the official IRCC website or consult a trusted visa consultant to help guide you through the process. Best of luck on your journey to studying in Canada
Read more:
How to Apply for work & Study Visa to Russia from Pakistan
How to Apply for a Visa to New Zealand from Pakistan
How to Apply for a Visa to Greece from Pakistan: A Complete Guide